Picture this: you’re walking around your training aircraft on a crisp morning, clipboard in hand, ready for another lesson. But as you approach the propeller, you notice a small nick on one of the blades. Your instructor hasn’t arrived yet, and you’re wondering if this is something you should be concerned about. This exact scenario happens more often than you’d think, and it perfectly illustrates why mastering your pre-flight inspection checklist isn’t just about checking boxes – it’s about developing the judgment and confidence that separates safe pilots from statistics.
Every year, the NTSB reports that approximately 15% of general aviation accidents could have been prevented with a more thorough pre-flight inspection. That’s a sobering statistic, but here’s the encouraging part: as a pilot in training, you’re building habits now that will serve you for your entire flying career. The systematic approach you develop during your student pilot days will become second nature, turning what might seem like a tedious checklist into an intuitive safety practice that could one day save your life and the lives of your passengers.
Understanding Your Legal Obligations for Aircraft Pre-flight Inspection
Before we dive into the nuts and bolts of your pre-flight inspection checklist, let’s talk about what the regulations actually require. Federal Aviation Regulation 91.103 places the responsibility squarely on your shoulders as pilot-in-command to determine that the aircraft is airworthy before every flight. This isn’t just a suggestion – it’s a legal requirement that comes with real consequences if ignored.
Many student pilots ask us whether they need to follow the same standards as commercial pilots, and the answer might surprise you. Whether you’re flying a basic trainer or a complex aircraft, the fundamental requirement remains the same: you must satisfy yourself that the aircraft is safe for the intended flight. The difference lies in the complexity of the systems you’re inspecting and the depth of knowledge required.
Your training records and insurance coverage can also be affected by how thoroughly you conduct pre-flight inspections. We’ve seen cases where inadequate pre-flight procedures led to insurance claims being denied, leaving pilots financially responsible for accidents that could have been prevented.
Building a Systematic Approach to Your Pre-flight Inspection Checklist
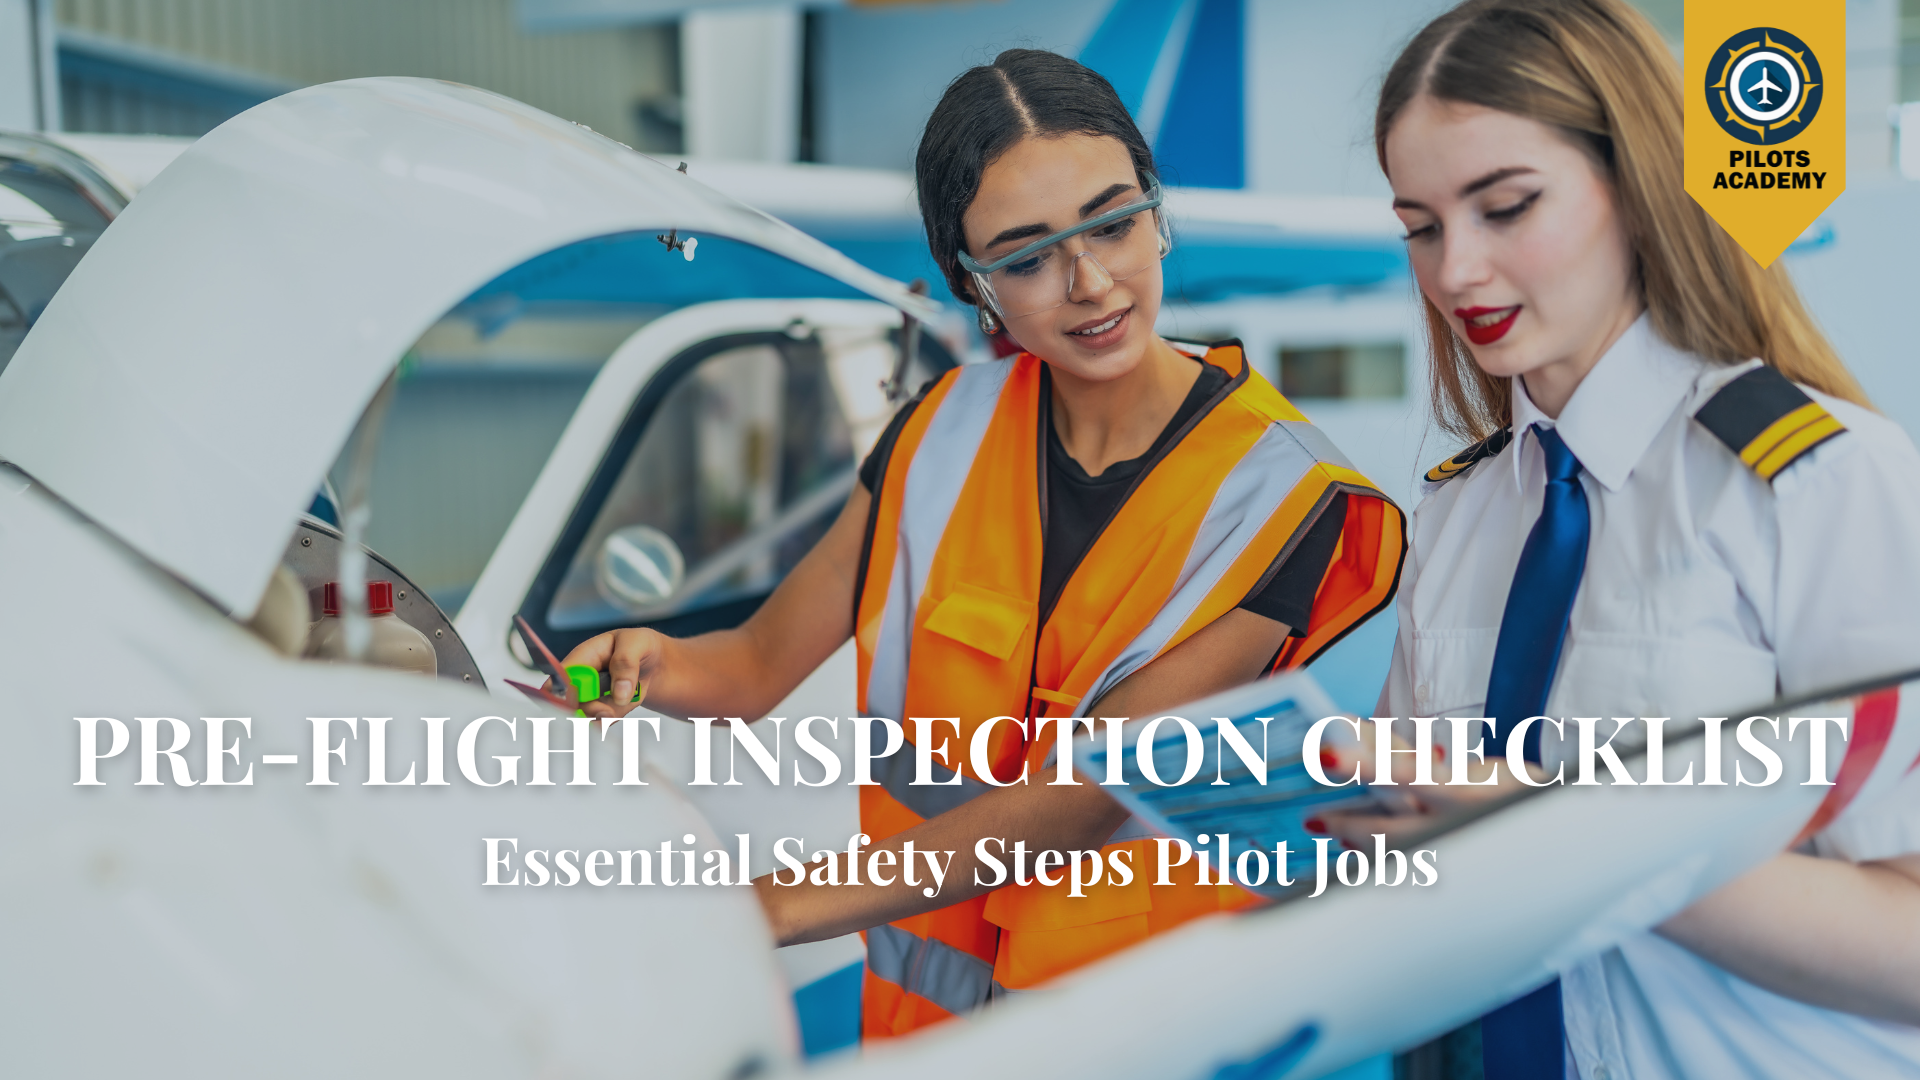
The most effective pilots develop a consistent pattern for their aircraft safety inspection that becomes automatic over time. At Pilots Academy, we teach our students to start with the cockpit and work systematically around the aircraft, but the key is choosing a method and sticking with it religiously.
Your aircraft’s Pilot Operating Handbook contains the manufacturer’s recommended checklist, but experienced pilots know that you need to adapt this to your specific aircraft and flying conditions. For example, if you’re flying in dusty conditions, you’ll want to pay extra attention to air filter inspection. If you’re operating from grass strips, tire and landing gear inspection becomes even more critical.
Time management is crucial here. A thorough pre-flight typically takes 15-20 minutes for a training aircraft, but don’t let schedule pressure rush you through critical steps. We tell our students that the few extra minutes spent on a careful inspection are insignificant compared to the hours you might spend dealing with an in-flight emergency or, worse, an accident investigation.
Essential Cockpit and Interior Safety Checks
Your pre-flight inspection checklist should always begin inside the cockpit, where you’ll verify that all required documents are present and current. Remember the acronym ARROW: Airworthiness Certificate, Registration, Radio License (if required), Operating Limitations, and Weight and Balance data. Missing or expired documents can ground your flight before it even begins.
Next, check all flight controls for full and free movement. This isn’t just about moving the yoke and rudder pedals – you need to verify that the control surfaces outside respond correctly and that there’s no binding or unusual resistance. Many student pilots make the mistake of rushing through this check, but we’ve discovered control cable issues during pre-flight that could have led to serious problems airborne.
Don’t forget to inventory your safety equipment. Fire extinguishers, first aid kits, and emergency locator transmitters all have expiration dates and inspection requirements. If you’re planning a cross-country flight, this is also the time to review your emergency procedures and alternate airport options.
Engine and Propeller Inspection Fundamentals
The engine compartment inspection often intimidates new pilots, but it becomes routine with practice. Start with the engine oil – not just the quantity, but the quality. Clean oil should be relatively clear and free of metal particles. If you see metallic flakes or the oil looks like chocolate milk, it’s time to call maintenance.
Propeller inspection requires careful attention to detail. Even small nicks or gouges can create stress concentrations that lead to catastrophic failure. Run your fingers along the leading edges of the propeller blades, feeling for damage that might not be immediately visible. The propeller spinner and mounting bolts should be secure with no signs of looseness or cracking.
Inside the engine compartment, look for any signs of fluid leaks, loose connections, or foreign objects. Birds love to build nests in engine compartments, and we’ve seen everything from small twigs to entire nests that could block cooling airflow or damage moving parts.
Wing and Control Surface Inspection Procedures
Your wing inspection should follow a systematic pattern, typically starting at the wing root and working toward the tip. Pay particular attention to the leading edges, where impact damage from birds, hail, or ground handling equipment is most likely to occur. Small dents might seem insignificant, but they can affect airflow and aircraft performance.
Fuel system inspection is a critical part of your pre-flight inspection checklist. Always sample fuel from the lowest drain points to check for water contamination and proper fuel grade. Water in fuel appears as clear globules that separate from the fuel, while contaminated fuel might appear cloudy or have visible particles.
Control surface inspection goes beyond just checking for damage. Verify that all control surface attachments are secure, cables have proper tension, and there are no obstructions that could limit movement. We teach our students to actually move each control surface by hand to feel for any binding or unusual resistance.
Landing Gear and Tire Assessment Techniques
Landing gear inspection varies significantly between fixed-gear and retractable-gear aircraft, but the fundamentals remain the same. Check tires for proper inflation, unusual wear patterns, cuts, or embedded objects. Tire pressure should be checked with a gauge when possible, as visual inspection alone can be misleading.
Brake system inspection includes checking brake fluid levels (if visible), looking for signs of brake fluid leaks, and ensuring that brake lines are secure and undamaged. Test brake pedal feel during your taxi check, but the visual inspection should catch obvious problems before you even start the engine.
Don’t forget to inspect wheel fairings, gear doors, and associated hardware. Loose or missing screws might seem minor, but they can indicate more serious structural issues or create FOD (Foreign Object Damage) hazards for other aircraft.
Weather Considerations in Pre-flight Inspection Procedures
Weather conditions significantly impact your pre-flight inspection checklist requirements. Cold weather operations require additional checks for ice accumulation, proper oil viscosity, and battery condition. In freezing conditions, even small amounts of ice on control surfaces can dramatically affect aircraft handling.
Hot weather brings its own challenges, including expanded fuel quantities, reduced engine performance, and increased risk of vapor lock. High humidity can lead to water contamination in fuel systems and reduced visibility through windscreens that may appear clean in dry conditions.
Wind conditions affect not just your flight planning but also your pre-flight procedures. Strong winds can make thorough aircraft inspection difficult and potentially dangerous. Plan your inspection pattern to work with the wind rather than against it, and be extra careful around control surfaces that might move unexpectedly.
Your Journey to Professional-Level Safety Standards
Mastering your pre-flight inspection checklist is one of the most important skills you’ll develop as a pilot. It’s not just about following a list of items, it’s about developing the judgment, attention to detail, and safety mindset that will serve you throughout your aviation career. Every experienced pilot has stories about problems they caught during pre-flight that could have ruined their day or worse.
At Pilots Academy, we believe that building these habits early in your training sets the foundation for a lifetime of safe flying. Our instructors work with each student to develop personalized inspection techniques that work with their learning style while ensuring nothing gets missed. We’ve seen too many pilots struggle later in their careers because they never developed systematic inspection habits during their initial training.
Whether you’re working toward your private pilot certificate or building time for a commercial aviation career, remember that every flight begins on the ground with a thorough pre-flight inspection. The confidence that comes from knowing your aircraft is airworthy and ready for flight is invaluable, and it starts with the habits you’re building today. We’re here to support you every step of the way, from your first pre-flight inspection to your final checkride and beyond.
Frequently Asked Questions
How long should a pre-flight inspection take?
A thorough pre-flight inspection typically takes 15-20 minutes for most training aircraft. Rushing through the process defeats the purpose and increases the risk of missing critical issues. Remember, the time invested in a proper pre-flight is minimal compared to dealing with an in-flight emergency.
Can I fly if I find a minor discrepancy during pre-flight?
This depends on the specific issue and whether it affects airworthiness. When in doubt, consult your instructor or a certified mechanic. It’s always better to be conservative – no flight is so important that it’s worth taking unnecessary risks.
Do I need to check everything on the checklist for every flight?
Yes, consistency is key to developing good habits and ensuring safety. Skipping steps, even on familiar aircraft, is how important issues get missed. Each flight presents new opportunities for problems to develop.
What tools do I need for a proper pre-flight inspection?
Essential tools include a good flashlight, fuel tester, clean rags, and your aircraft-specific checklist. Some pilots also carry a tire pressure gauge and basic tools for minor adjustments, but check your flight school’s policies first.
Should I do a pre-flight inspection if the aircraft just came out of maintenance?
Absolutely. Maintenance-related issues are actually more common immediately after work is completed. Fresh eyes on a just-maintained aircraft can catch problems that were missed or created during the maintenance process.
How do I know if something I find requires grounding the aircraft?
When in doubt, don’t fly. If you’re unsure about any discrepancy, consult with your instructor or a mechanic. Learning to make good go/no-go decisions is a critical pilot skill that starts with pre-flight inspection judgment.
Can weather conditions affect what I need to check during pre-flight?
Yes, different weather conditions require additional focus areas. Cold weather requires ice checks and battery condition assessment, while hot weather demands attention to fuel expansion and engine cooling. Tailor your inspection to current conditions.